
3 most important things I learned painting my own backdrops
I love the look of a painted backdrop…
This probably has something to do with the fact that one of my favorite photographers of all time, the extraordinary Annie Leibovitz, has been utilizing them in her portrait work since the 1990’s.
Ms. Leibovitz uses the backdrops of Sarah Oliphant. An Oliphant backdrop is in and of itself a work of art. But as a backdrop that the likes of Serena Williams and Stephen Hawking have been photographed in front of, you can also probably guess that an Olie is also a pretty big investment.
So I decided to get creative and take a stab at painting 2 backdrops on my own (one dark and one light) and while I’m no Sarah Oliphant, I do have to say that I like how one of them turned out at least. And I definitely learned a few things during the process:
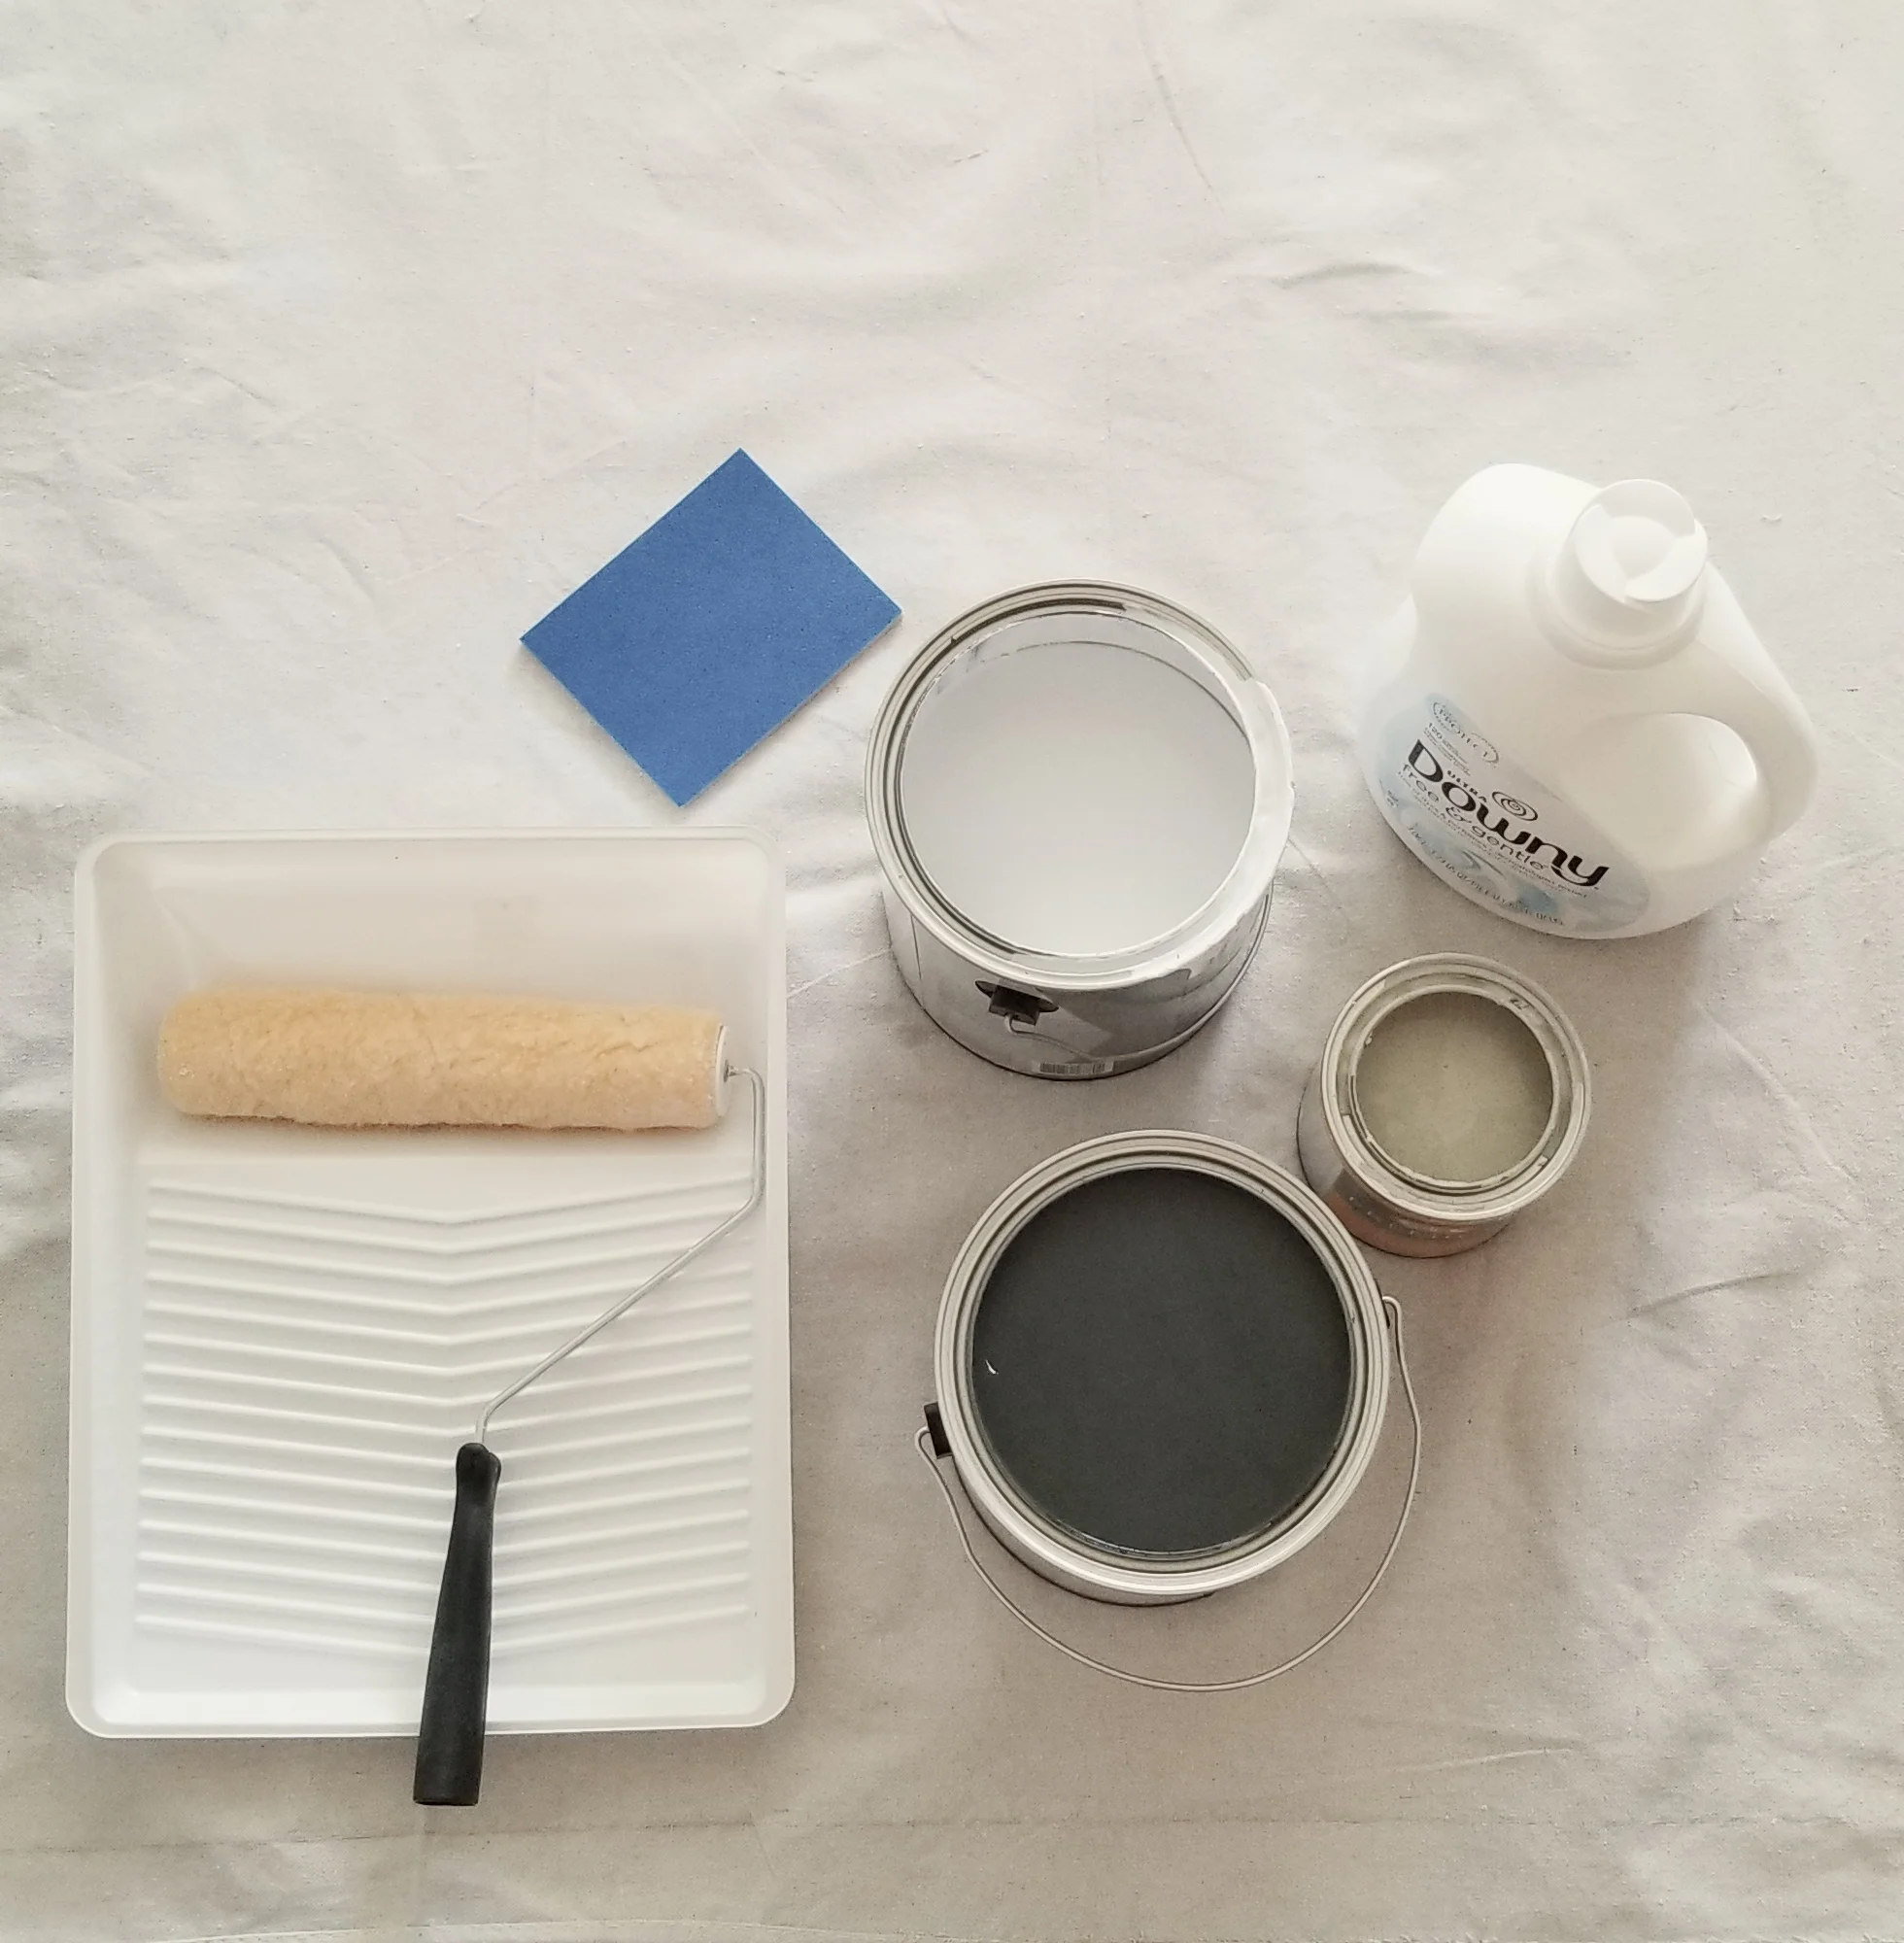
1) Steam or iron your backdrop before you paint it.

I didn’t do this with my first lighter-coloured backdrop and the creases in it are, unsurprisingly, more pronounced. There are still some creases in my 2nd, dark grey backdrop, but they are definitely less pronounced.
ALSO: Don’t forget to prime your canvas before painting it, or else the paint will seep right through the canvas when you do begin painting. I just used a plain white latex primer from Home Depot and it worked like a charm.
2) It’s easier to paint a dark backdrop than a light backdrop.

I painted my light backdrop first and to begin with I LOVED the results. In an interview with Sarah Oliphant, she said that her most successful backdrops have a vignette. So with both my backdrops I tried to make sure there was some vignetting going on. I was quite happy with the way the my light backdrop turned out (see adjacent picture) and was excited to shoot on it.
However, I found that how it looked in person didn’t translate through portraits. It just looked like a plain cream backdrop in portraits. I think the mistake I made here was making the vignette too wide- I think it would have been more successful if I had brought the darker colours around the edge of the canvas towards the center of the backdrop to create more depth.
Painting my dark grey canvas was much easier in contrast, and I’ll talk more about that in the next point.
3) Using a dark grey backdrop instead of black looks great in portraits.
I’m really happy with the way in which my second backdrop turned out. It’s great for both black and white as well as colour portraits and it’s also big enough that I can do full length shots with it as well.
The key here is to get a dark grey paint instead of full on black. I just found the dark grey allows more texture and depth to come through.
Below is the finished product!

My last piece of advice for painting your own backdrop…
Ok, so I know this is titled the 3 most important things (and not 4), but I just have to add that if you paint your own backdrop that you are going to be more SORE the next day than you have ever been in your ENTIRE LIFE. Even if you have a long roller, you’re still going to have do a lot of squatting over the course of several hours to do the texturing on your backdrop. In terms of a workout, painting your own backdrop beats doing power yoga, cross fit or a boot camp. So practice self-care and allow yourself to relax the next day and maybe take a nice hot bath as well.
Have fun painting!